Quick capture
Ideas don't wait for you to open the right page. Hillnote gives you several quick ways to catch them: jot a note or record a thought from any app with the Quick Menu, clip a web page, grab a screenshot or selected text from another app, scribble in the Notepad, or just start typing on a workspace's home page. Everything lands in your workspace, ready to sort later.
Open the Quick Menu
The Quick Menu is a small panel that opens over whatever app you're in. It's in the desktop app only.
- Press ⌥Space, or Alt+Space on Windows, or click Hillnote's icon in the menu bar or system tray. To change the key, open Settings ▸ Hillnote ▸ Dock Shortcut.
- Right-click the icon for Quick Menu, Show Hillnote and Quit Hillnote.
Its tabs are:
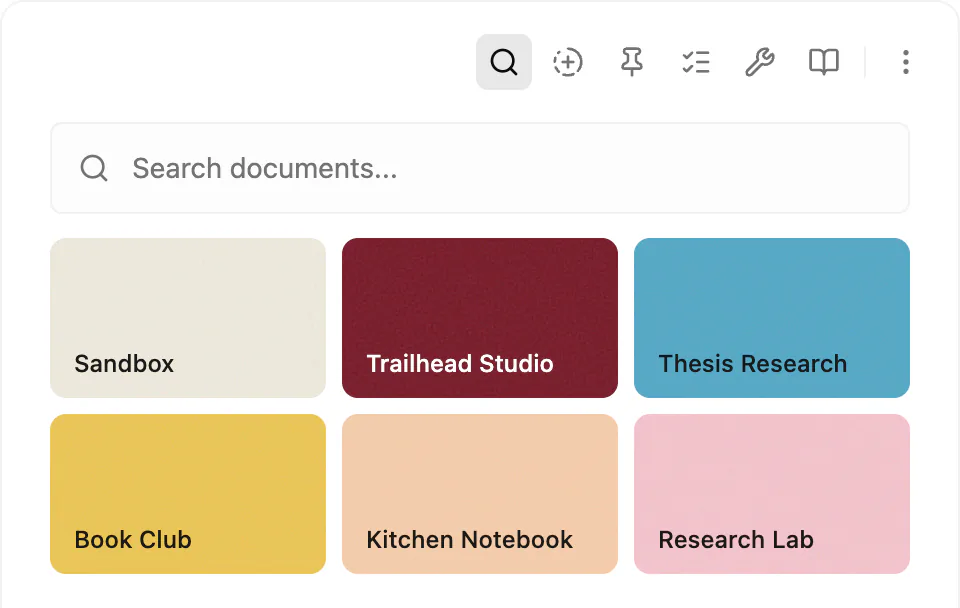
- Search, with a Search documents… box and a tile for each workspace.
- Quick Note, for writing, clipping and recording (see below).
- Pinned: one page kept at hand to read or edit.
- Tasks: a task database, by status (see Database).
- Tools: your workspace's tools (see Tools).
- Ask a library: questions answered from a library.
Press ⌘1 to ⌘6 (Ctrl+1 to Ctrl+6 on Windows) to switch tabs, and Esc to close the menu.
Write a quick note
- Open the Quick Menu and choose Quick Note.
- Type. Markdown and
/commands work, just as in a page. - Click a workspace name above the note, then click Save to … (the button names the workspace).
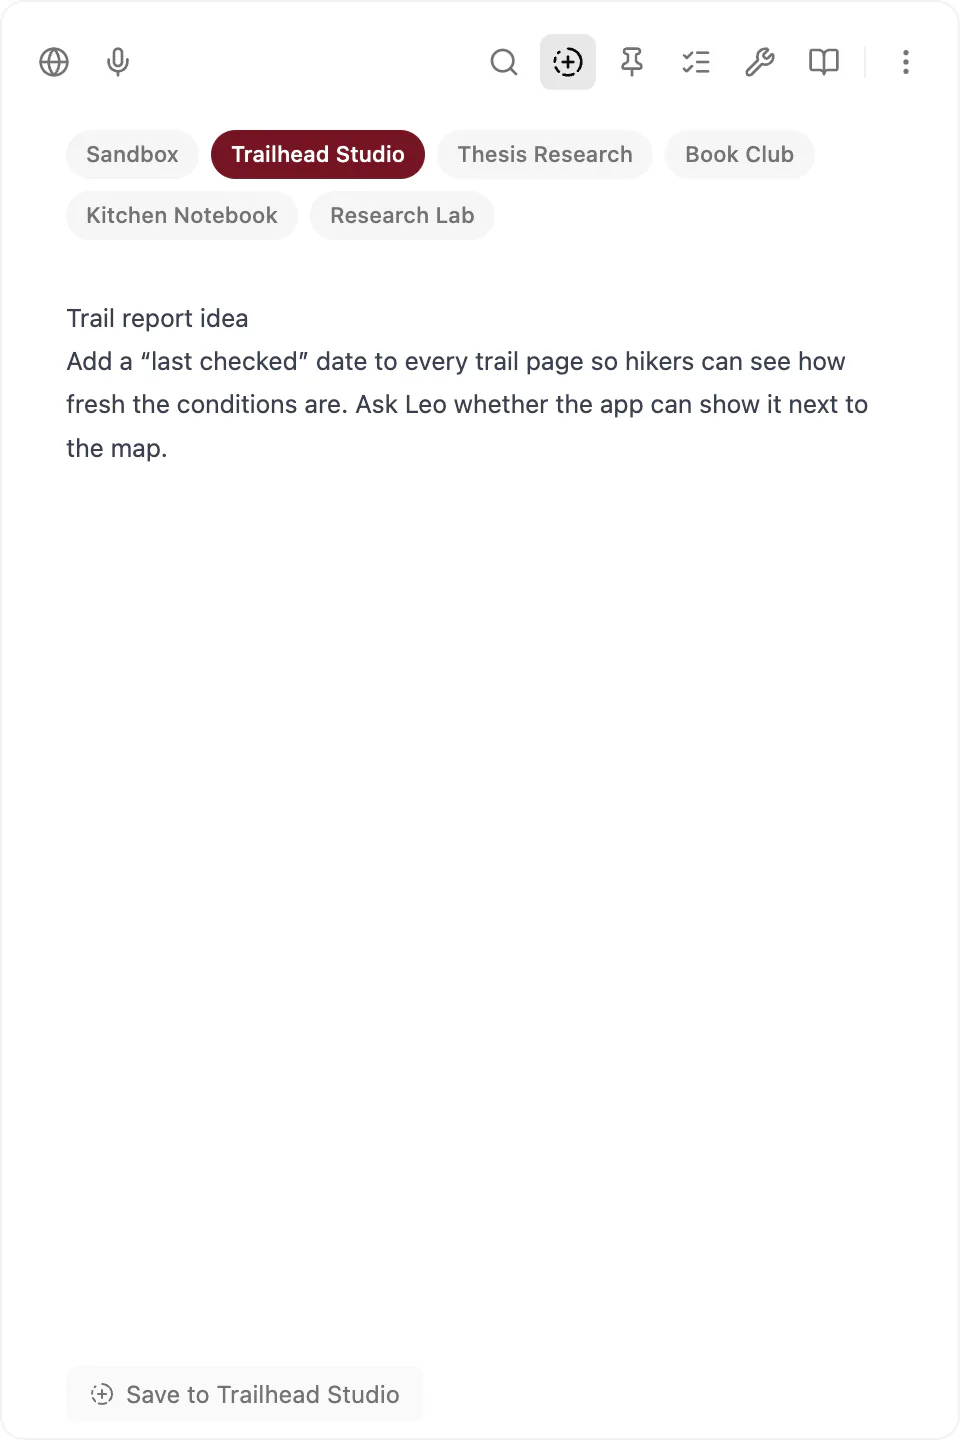
The note lands in that workspace's documents/quicknotes/ folder, named after its first line. Until you save, your draft is kept.
In a workspace's sidebar, Quick Notes opens all your notes as a board of sticky notes; its arrow lists them instead. See App interface.
Clip a web page
Save an article into a quick note as clean Markdown. This is in the desktop app only.
- In Quick Note, click Clip a webpage.
- Paste the address and press ↵ (Enter on Windows).
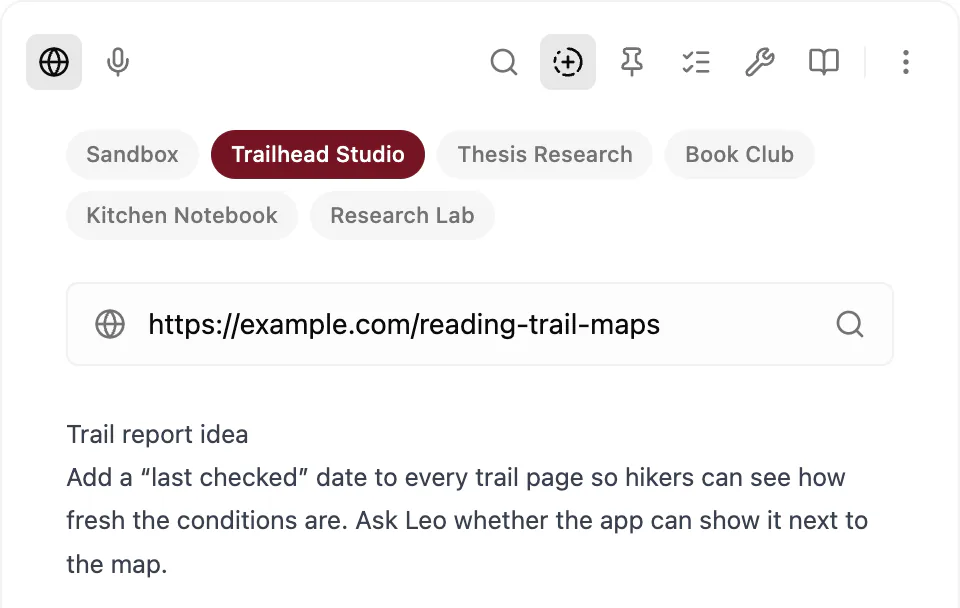
The page's text is added to the end of your note, and its source is saved with the note.
If your browser is in front on macOS or Windows, the Quick Menu can offer the page you're viewing: click Clip. The first time, your computer may ask you to let Hillnote read that browser.
For importing files, and more on clipping, see Files panel and importing.
Record and transcribe
Speak instead of typing. This is in the desktop app only.
- In a quick note: in Quick Note, click the microphone, talk, then click it again (Stop & transcribe). The dictation shortcut, ⌘D (Ctrl+D on Windows) by default, does the same. Right-click the microphone for its settings.
- From any app: press ⌃⌥M (Ctrl+Alt+M on Windows) to start recording without opening anything. On a Mac, the Dock icon shows REC. Press the keys again to stop: the Quick Menu opens and the transcript appears in a quick note.
The button then reads Save recording to …, and the note goes to documents/recordings/. In the sidebar, Recordings shows them as a board.
For transcription engines and clean-up options, see Dictation and voice.
Capture from other apps
To capture without leaving the app you're in, turn on Use outside Hillnote in Settings ▸ Voice. This is in the desktop app only, on macOS and Windows.
- Screenshots: press ⇧⌘2 (Ctrl+Shift+2 on Windows) and drag over part of the screen. The capture is saved to a quick note, with its text extracted. Esc or a click cancels. On Windows, the text is extracted only if an OCR language is installed; otherwise the screenshot is saved as an image.
- Selected text: select text in another app, and a small Save to Quick Notes button appears beside it. Tapping the hold-to-talk key saves it too, and holding the key asks the assistant about it.
- Talking: hold the hold-to-talk key (by default a right-hand modifier key, shown in Settings ▸ Voice) to ask the assistant.
On a Mac, allow Hillnote Accessibility access, plus Screen Recording for screenshots. To change the screenshot keys, open Settings ▸ Hillnote ▸ Screenshot to Quick Note.
The switches for each of these are covered in Use voice outside Hillnote in Dictation and voice.
Keep a notepad
The Notepad is a scratchpad in the side panel. It saves as you type, to Notepad.md in documents/.
- Click Notepad in the top bar (under More tools unless you've pinned it), or choose Window ▸ Toggle Notepad. You can also give it a key under Notepad Shortcut in Settings ▸ Hillnote.
- Write anything.
- Click Copy text to copy it all, or Save as new document to make a page named after its first line.
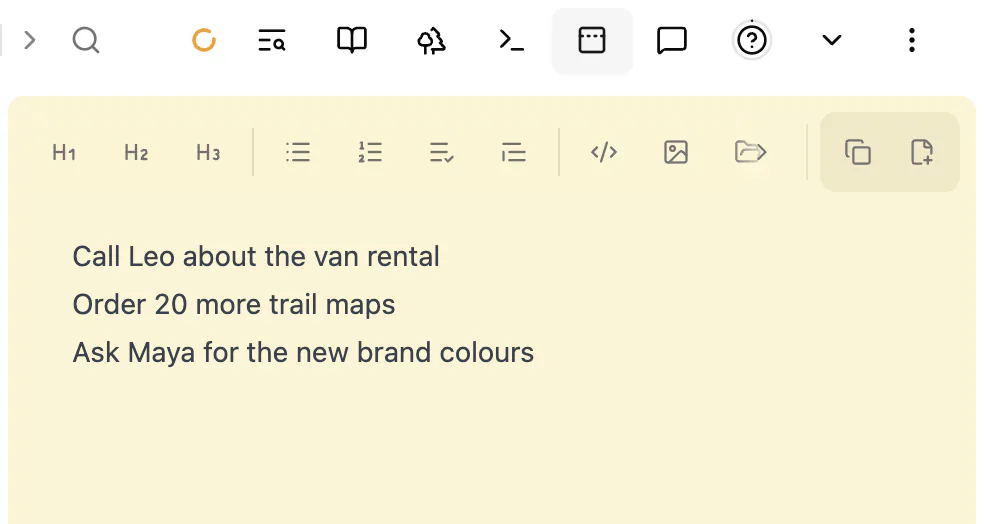
Pick a Paper colour: Yellow, Green, Blue, Pink, Purple or Plain.
The Notepad is yours alone: it never syncs, even in a shared workspace.
Type on the workspace home
The workspace home is a blank page for whatever's on your mind. To open it, click Home in the row of buttons at the top of the sidebar.
Type, then choose:
- Ask AI (⌘↵, or Ctrl+Enter on Windows) sends it to Chat. See Chat with AI.
- Save as note (⌘S, or Ctrl+S on Windows) saves it to Quick Notes.
- Format and save (⇧⌘S, or Ctrl+Shift+S on Windows) has a local model tidy it into a new page, and keeps your original in a collapsed Scratch Space at the top.
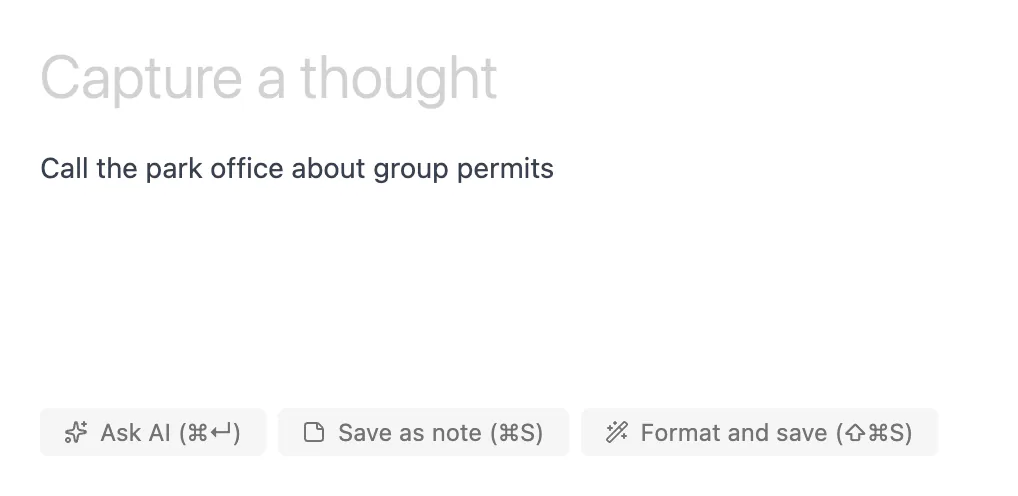
Or just keep writing. With Auto-save drafts as notes on (the default, in Settings ▸ Editor), a draft past ten words saves itself to Quick Notes, and opens when you stop typing. Press Esc to stay on the home page.
In an empty workspace, Set up my workspace with AI builds the workspace from your description.
Every capture key is listed in Keyboard shortcuts. To change how Hillnote looks and behaves, see Customise Hillnote.