Moodboards
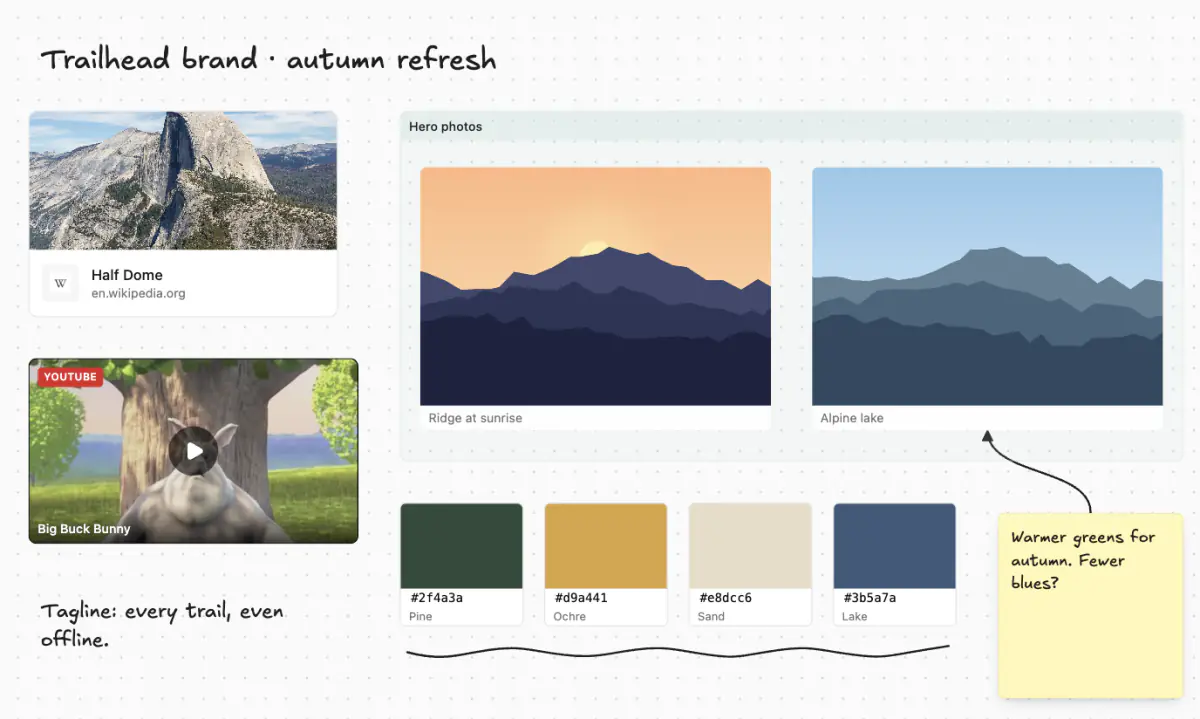
A moodboard is an open board where you collect and arrange images, links, videos, pages, notes and colours. Use one to gather references for a project, settle on a look and feel, or lay ideas out side by side. You can group things with frames, join them with arrows and sketch over the top.
Create a board
- Click + (Create new) in the sidebar and choose Board (see App interface for the sidebar).
- Name it and click Create.
Then drop images or paste links straight onto the board, or pick a tool (see Add things below).
The board is saved as a .moodboard.md file in your workspace (see Files and folders). Images you add are copied into resources/images/, in a folder named after the board. The file holds the board as data, so change it in the app or through a connected AI tool (see Build boards with AI below), not by hand. If the file is ever damaged, Hillnote shows the last good version and rewrites the file on your next change.
The sidebar's Quick Notes board, which shows your quick notes as sticky notes, is a different thing. See Quick capture.
Add things
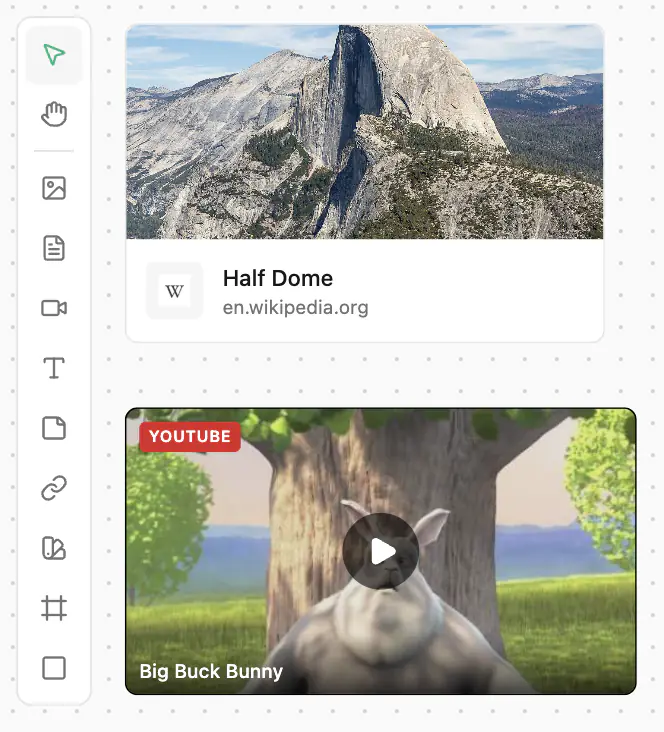
Pick a tool from the rail on the left of the board, or just drop and paste:
- Images: drop or paste them, or use Add image (I).
- Links: paste a URL to get a link card. YouTube and Vimeo links become video cards, and pasting several URLs at once makes a column of cards. Web link (L) and Add video add them by hand.
- Pages: drag a document from the sidebar onto the board, or use Add document (D). Its card can Open in editor or Open side by side.
- Notes: paste text, or add a Text note (T) or a Sticky note (N).
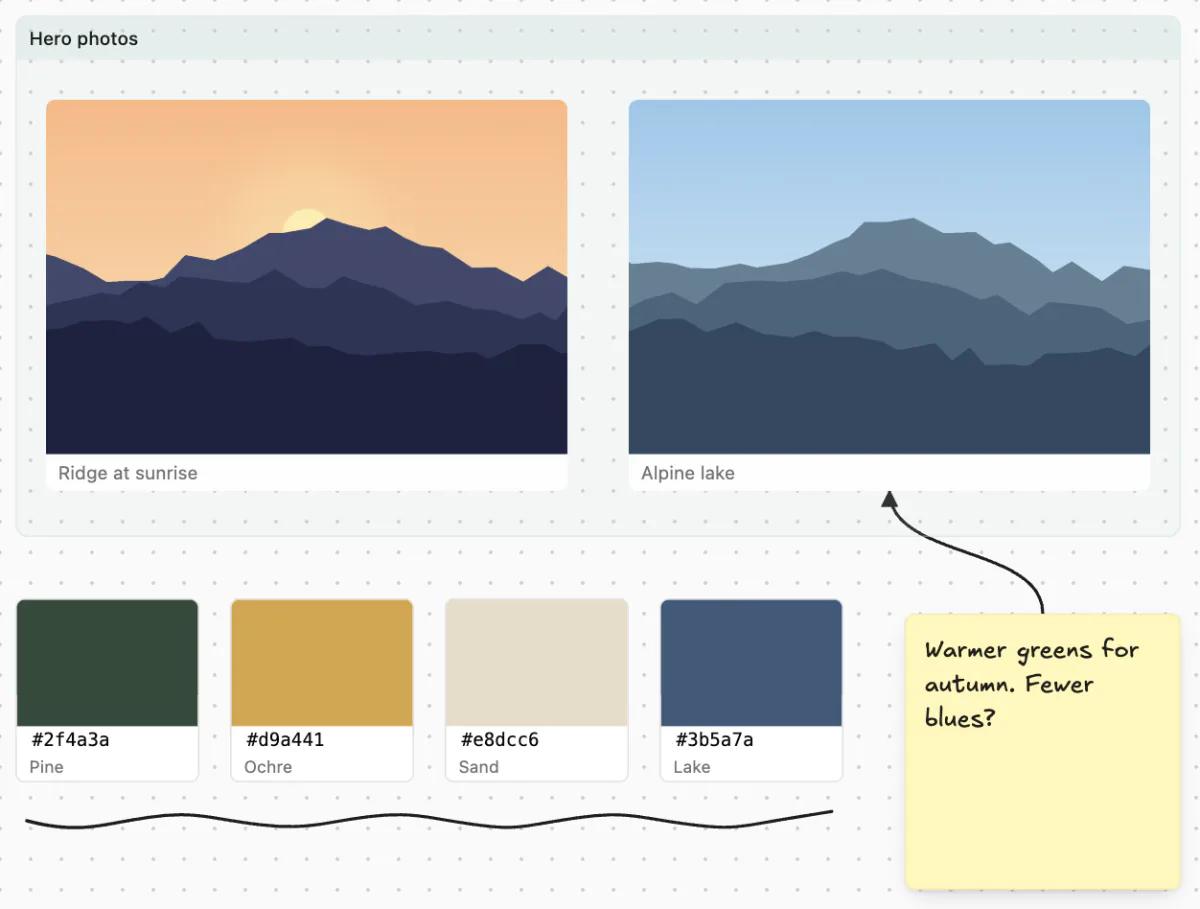
- Colour swatch (S): click its hex code to copy it.
The letter after a tool's name is its key: press it on the board to pick that tool. Right-click the board to add a text note, sticky note, swatch or frame right where you clicked.
Frames, shapes, arrows and ink
- Frame (F) groups items: anything inside moves with it. Right-click a frame to Export frame as PNG… or Remove frame, keep contents. Deleting a frame deletes the items inside it too, so use Remove frame, keep contents when you want to keep them.
- Shape draws a Rectangle (R) or an Ellipse (O).
- Connector (A) draws an arrow between items. With one item selected, click a round + on its edge to add a connected copy, or drag the + to draw a connector.
- Pen (P) draws freehand. Click it again for its options: a Colour and Width, the Eraser (E), which removes strokes, and Clear all ink, which removes them all.
Frame and Shape are on the left rail. Connector and Pen sit in the toolbar at the top right of the board, next to undo and redo.
Arrange and style
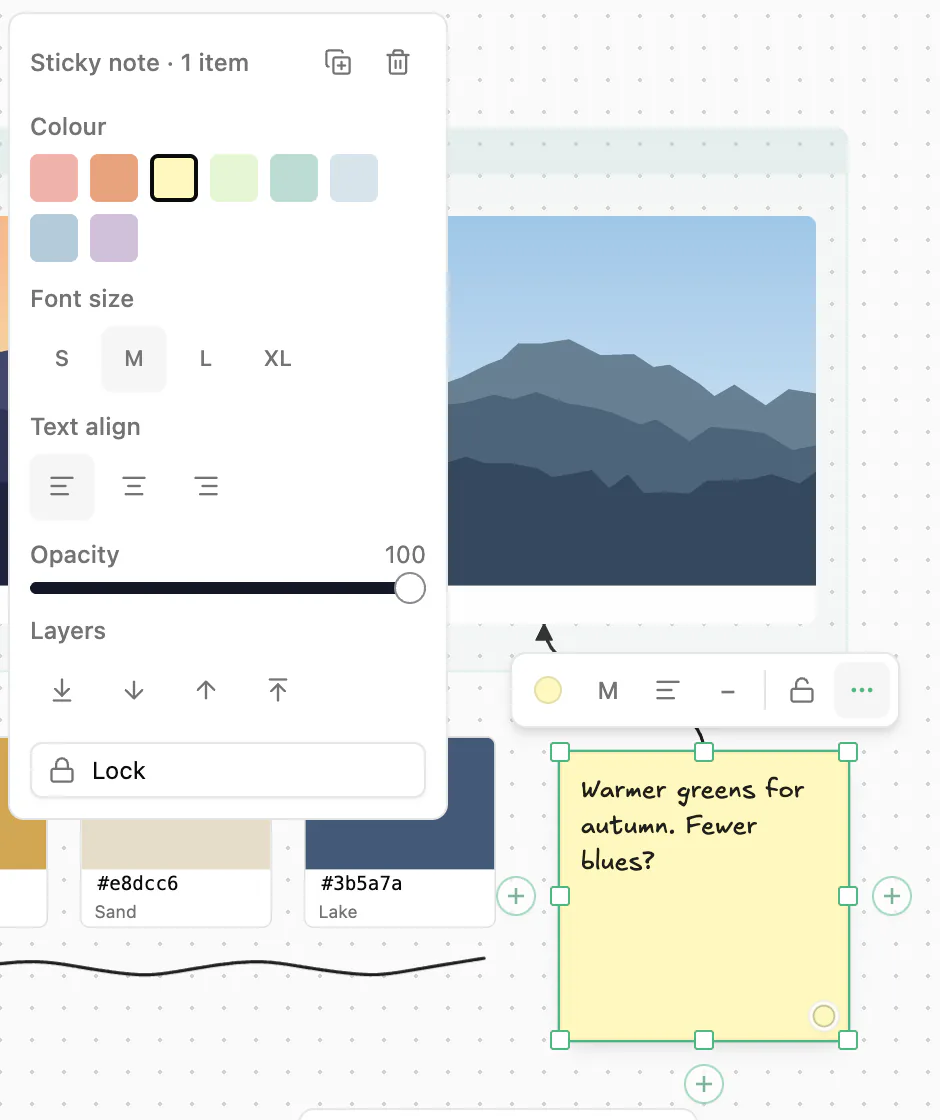
Select an item to see its toolbar, with style controls for its type and a lock. A sticky note offers its colour, font size, text align and size, for example, and a connector offers its Style (Curved, Straight or Elbow) and Line style. More options opens Properties, with the item's Layers (bring it forward or send it back), Opacity, Duplicate and Delete.
Select several items and the toolbar adds Align. It lines the items up, spaces them out evenly, or tidies them into a neat arrangement with Tidy up.
| Mac | Windows | Does |
|---|---|---|
| ⌥A ⌥H ⌥D | Alt+A Alt+H Alt+D | align left, centre, right |
| ⌥W ⌥V ⌥S | Alt+W Alt+V Alt+S | align top, middle, bottom |
| ⌃⌥T | Ctrl+Alt+T | Tidy up |
| ] / [ | ] / [ | bring forward / send back |
| ⇧⌘D | Ctrl+Shift+D | duplicate |
| ⌥⌘C / ⌥⌘V | Ctrl+Alt+C / Ctrl+Alt+V | copy / paste style |
Arrow keys nudge the selection by 1 px, or by 10 px with Shift. While you drag, hold ⌥ (Alt on Windows) to drag a copy, or Shift to move along one axis. Lock the items you don't want moved; Unlock all, on the left rail, frees them again.
Move around the board
- Pan with the Hand (H) tool, or hold Space and drag.
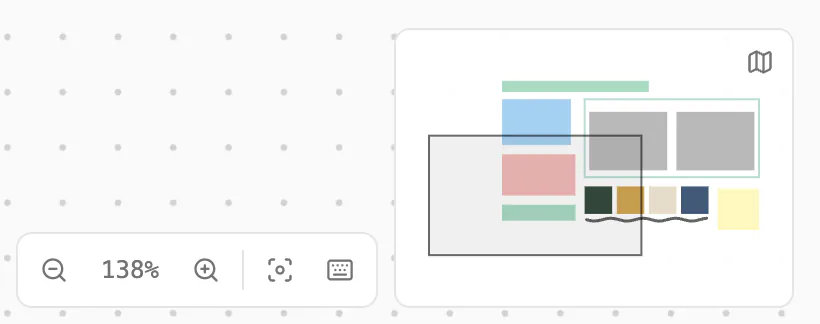
- Zoom with + and - or with the zoom bar. 0 zooms to fit, 1 goes to 100%, and ⇧2 (Shift+2 on Windows) zooms to the selection.
- ⇥ (Tab on Windows) selects the next item.
- The minimap shows where you are on a big board.
- Press ? or ⌘/ (Ctrl+/ on Windows) to see every shortcut.
Board settings, lock and export
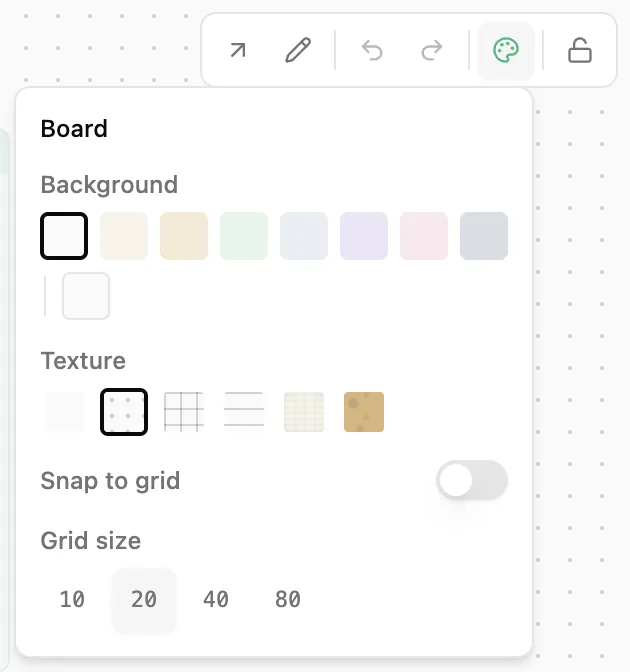
Board settings, in the toolbar at the top right of the board, sets:
- the Background: Default, Paper, Sand, Mint, Fog, Dusk, Blossom or Slate, or a Custom colour
- a Texture: none, Dots, Grid, Lines, Paper or Cork (Cork gives the board a cork colour too)
- Snap to grid, with a Grid size of 10, 20, 40 or 80 px
The lock at the end of that toolbar is Lock board (view-only), which prevents accidental edits. While the board is locked, the toolbar shows only Unlock board, which turns editing back on.
To save a picture of the board, choose ⋮ ▸ Export as Image in the top bar, or right-click the board ▸ Export as PNG…. Saving image files is desktop app only. Copy as PNG (⇧⌘C, or Ctrl+Shift+C on Windows) puts the selection on the clipboard instead.
Build boards with AI
AI tools connected to Hillnote can work on boards too. They can add images, notes, links, videos, frames and arrows, move, resize and restyle what's already there, and read a board back. Before they start, they read Hillnote's moodboard guide, which tells them how boards are built.
To connect your AI tool, see Connect your tools. Then ask for something like Make a moodboard of autumn trail photos with a colour palette under them.